Setting Reservation Time
02.05.2023
Reservations
To create a reservation, you must first create a reservation template and set the registration time. You can create and set templates in the Reservations section in the right corner of the website.

To set a new template, you must fill in the following information:
The shortest and longest reservations are set using time intervals. For instance, if you select the time interval to be 60 minutes and the minimum reservation time for 2 intervals, then the reservation period must be at least 120 minutes.
Quick TIP!
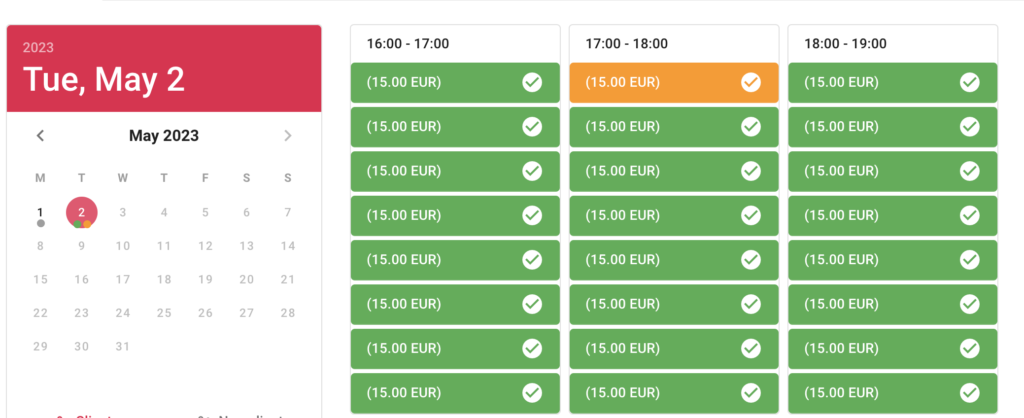
If you enable multiple clients to sign up for one reservation, then you can display a detailed overview of the reservation records by clicking on the double arrow icon right next to the reservation template. After activating Extended View, the individual reservations will be displayed separately according to time intervals and individual reservation spots for which the clients can sign up.
After creating the first reservation template, you can edit, activate, or deactivate the event. This action will either show or hide the event and influence client reservation. For more information on how to change settings of reservation templates, go to the article Setting Reservation Time.
