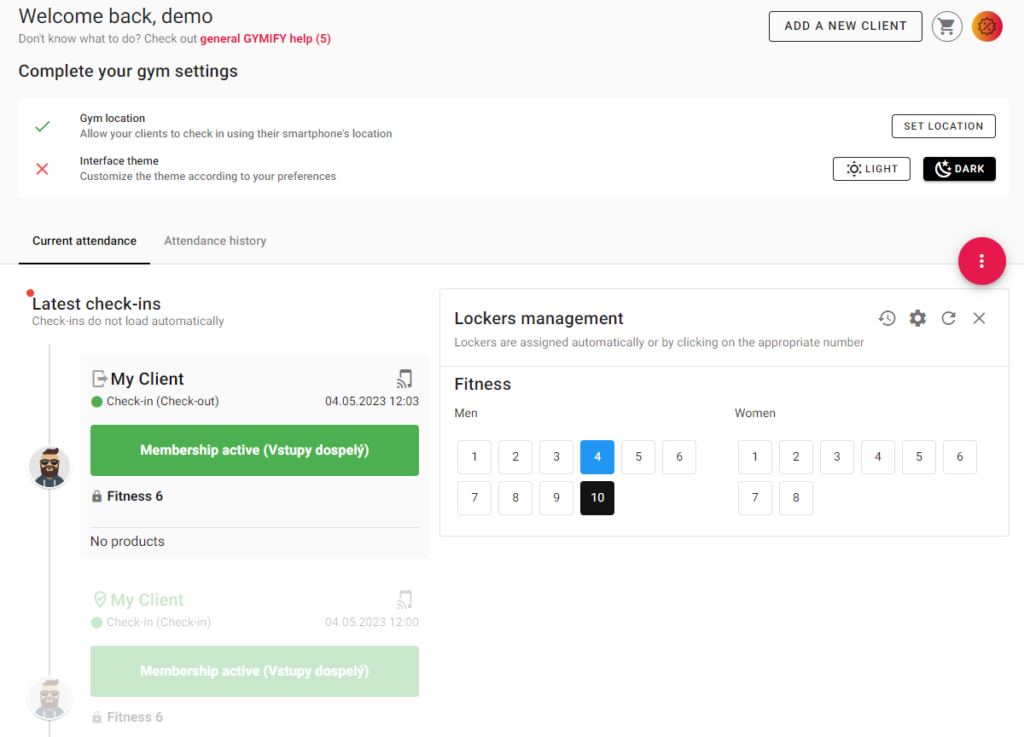
The main page automatically displays the essential information and is the most important GYMIFY section for the fitness centre staff's everyday use. The main page is displayed after logging into the system or clicking the Dashboard button on the main menu.

After logging into the system for the first time (i.e., empty fitness centre), the system is ready for the first check-in or locker assignment. Additionally, you can enable check-ins on the main page using GPS location in the GYMIFY mobile app if you have not done so yet.

You can display all the check-ins on the given day as a chart in the Attendance History tab.
The green dot placed right over the text Latest Check-ins means that all the different kinds of check-ins are displayed automatically.
Quick TIP!
After the attendance has been recorded, the information about the check-in is immediately displayed. In addition, the timeline highlights information about unsuccessful check-ins or check-in requests. Unsuccessful check-ins may occur, for instance, when the client has multiple memberships, which can be used both for recording attendance or buying products and services. It is necessary to complete the check-in. Otherwise, the client will not be able to register. The picture below displays a successful check-in of a trial client with active membership.

If you use automatic locker assignment, the main page also displays the locker records showing lockers that were either automatically assigned or manually chosen.

The quick access for new client registration is available in the upper right corner. Additionally, you can create new registration using an empty smart card.
Quick TIP!